Halloween pumpkin-carving tips
Basic pumpkin-carving tips to help you carve the perfect pumpkin for Halloween:
- Be sure to cover your work area (a countertop, table, or floor) with newspapers or a sheet of heavy plastic. If you plan to carve lots of pumpkins, you might want to work outside where any debris can be hosed off or swept away.
- Decide whether you will be cutting the top or the bottom off of the pumpkin in order to remove the seeds. If you cut a hole in the top, you’ll have an easy way to vent the heat from a candle. If you cut off the bottom, you’ll have easier access for an electric light cord.
- Before cutting into the pumpkin, determine how wide to cut the access hole. The hole should be large enough to fit your hand through, as well as accommodate a spoon or other scraping tool. If you’re not quite sure how large a hole to cut, try a hole about 6 inches in diameter.
- You can draw your jack-o-lantern design on a piece of paper and transfer the design to the pumpkin. You can also draw right on the pumpkin. Be aware, however, that a pencil or pen can dent the flesh of the pumpkin and a permanent marker may not wash off. If you’re drawing directly on the pumpkin, use washable markers or waxy china pencils instead.
- Once you have drawn the circular area for the lid (or bottom), begin cutting with a knife or pumpkin saw. Knives will cut faster, but not quite as accurately. Saws are fairly delicate and it may take longer to patiently saw out the opening. If you use too much pressure on a pumpkin saw, (sold in kits) the blade may snap off.
- Be sure to cut the top out holding the knife at a 45 degree angle, with the tip of the knife pointing toward the center of the pumpkin. Why? So the lid has a surface to sit on and it won’t slip through the opening into the pumpkin.
- Choose which side of the pumpkin will be the “front”. Then on the back side make a mark with a pen or cut a slit in both the lid and the adjoining pumpkin edge to mark how the lid should be realigned after carving.

Halloween pumpkin
- Next, get your hands slimy by reaching in to pull out the strings and seeds. Scrape this material away from the sides and the bottom with a heavy serving spoon (don’t use your best silver!) or another kitchen utensil such as an ice cream paddle.
- Continue scraping until all of the strings have been dislodged then reach in to remove everything that is loose. You should end up with a clean inside, free from pumpkin seeds or strings.
- For easier carving, keep scraping the areas of the pumpkin where you plan to carve. Scraping the inner walls down to a thickness of about an inch will allow knives and carving tools to more easily pierce the pumpkin’s flesh. (Test the depth of the skin by inserting a pin or small knife into an area that will be cut away.)
- Remove all of these additional scrapings so the interior of the pumpkin is clean.
- Draw a face or other design onto the pumpkin. Do a casual pumpkin with a freehand design or trace a pattern especially designed for pumpkins. Use a combination of non-permanent markers, china pencil, or pin pricks to mark the design. Make sure that the design does not start too low on the pumpkin or some if it may be hidden when you set it on the porch.
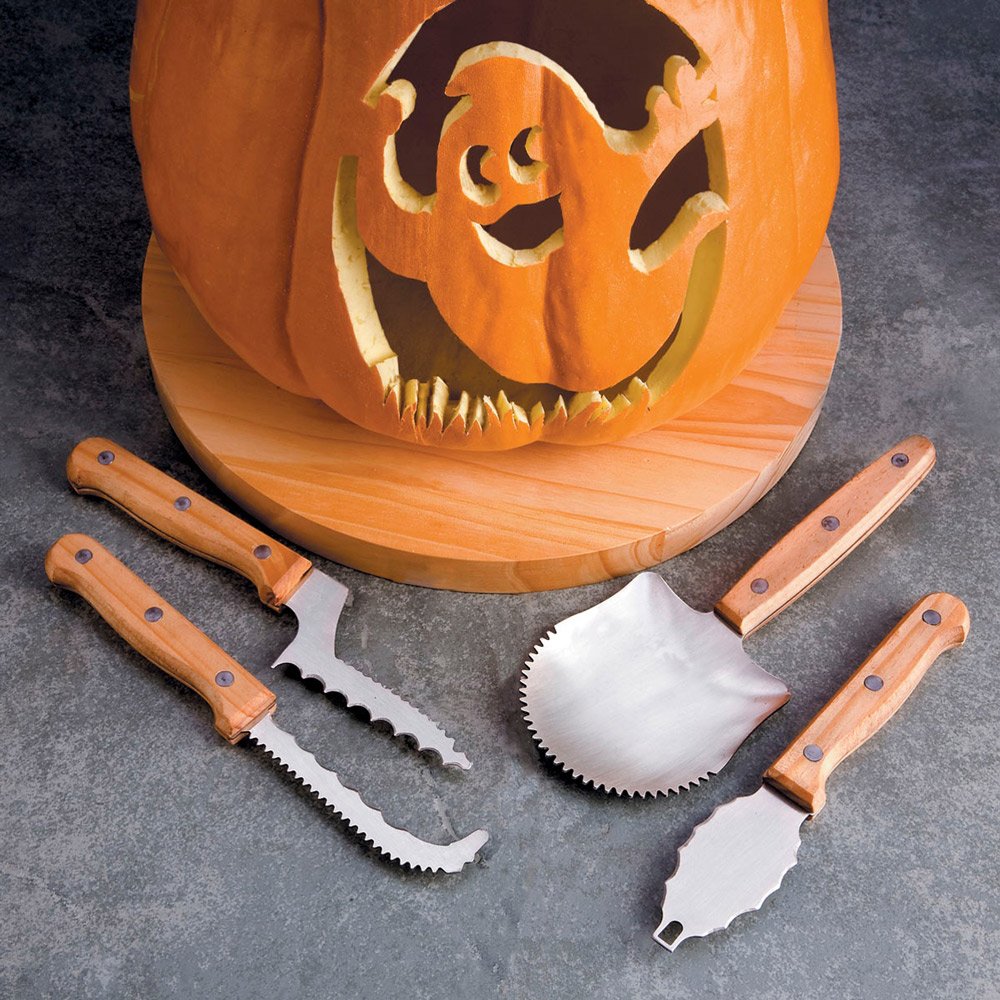
- Carve your pumpkin where you will be comfortable — sitting at table, standing over it, or holding it in your lap. Begin carving the design. Use tools you have including paring knives, utility blades, exacto knives, wood carving tools, or pumpkin saws and tools that are readily available in pumpkin carving sets sold in grocery stores during October.
- Keep carving until the design is complete. If you cut too much out by mistake, you might be able to repair the pumpkin by reattaching a piece using toothpicks or straight pins.
- Test the look of your design by inserting a votive candle or flashlight into the pumpkin. Dim the room’s lights to get the full effect. You’ll be able to see where additional areas may need to be carved away or expanded to better showcase the design.
Tips:
- Running short of time? Plan to clean out your pumpkin one day and carve it a day or two later.
- Patience and care may result in the most beautiful designs, however even haphazardly cut pumpkins can look happy and festive.
- It can help to insert a tool in the center of an area to be cut away, working your way out to the actual cutting line. It may also help to begin with shallow cuts, retracing them more deeply until the pieces are removed.
- Keep cut pumpkins in a cool place whenever possible. Setting them inside large plastic bags may also help keep pumpkins from drying out.
- Coating all cut edges with petroleum jelly will help keep pumpkins from drying out.[youtube oTEo_Roo8uw]